A Simple Guide to Designing Your Own Monogram with Eagle Digitizing
Monogramming is a classic way to add a
personal touch to your clothing. With Hatch, you can easily design your own
monogram. If you're feeling a bit daunted by the limitless options, fear not!
We're here to guide you through the process of creating a personalized embroidered monogram for your clothing.
Plus, we've got some inspirational pieces to spark your creativity. And don't
forget, Eagle Digitizing is always ready to assist with your digitizing needs.
With our fast turnaround, free stitch estimate, and free format conversion, we
make the digitizing process easy and stress-free.
Step 1: Select Your Material and Embroidery Machine
The initial step in crafting your monogram
design involves selecting the type of material for your clothing. The type of
material will dictate the stitch settings you'll need to use. Hatch simplifies
this with its "Auto Fabric" feature in the "Custom Design"
toolbox. Just pick your material from the drop-down menu, and the software will
fine-tune the stitch settings accordingly.
Next, choose your embroidery machine from the drop-down menu. Remember, some machines might need specific add-ons, so ensure to verify if your machine requires any supplementary steps.
Step 2: Design Your Monogram and Choose Your Letters
Now comes the fun part! Decide on your monogram design. You can either create
it from scratch or begin with a pre-made design from the designs tab. After
you've chosen your design, input the letters you want your monogram to display
and pick your preferred font.
Step 3: Personalize Your Monogram Borders and Decorations
Once you've laid down the basics, you can
start adding personal touches. Choose from a variety of different types of
borders available in the Hatch software. Then, adjust the width and stitch type
of your border. With the "Object Properties" feature, you have full
control over how you personalize your borders, choosing different stitch types,
patterns, styles, and effects.
Step 4: Adjust Your Monogram Size and Preview It Against a Background
After personalizing your design, it's time to
adjust its size to fit your clothing. Once you've achieved the perfect size,
you can start to customize thread colors and preview your digitized design against the background of your choice.
Step 5: Preview Your Design
Before you finalize your design, use the realistic preview feature to see how the final design will appear. You can preview everything and watch the simulation using the Stitch Player.
Step 6: Send the Final Design to the Embroidery Machine
Once you're satisfied with your design, it's
time to choose a hoop size and send the design to your machine! Select the size
that fits your design and machine, then send your design directly to your
machine. And there you have it! You've created your own monogram design.
Eagle Digitizing: Your Go-To for Embroidery Digitizing
Creating your own monogram design can be an
enjoyable and fulfilling process. But if you need a little assistance along the
way, Eagle Digitizing is here for you. We offer a variety of digitizing services to help you create
the perfect design. With our quick turnaround, free stitch estimate, and free
format conversion, we make the digitizing process straightforward and
hassle-free.
Looking for Some Inspiration?
If you're not quite ready to create your own
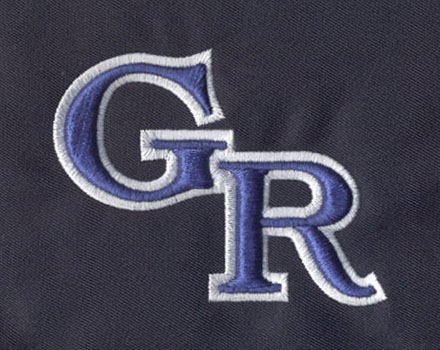
design yet, that's perfectly fine! Check out some of these pieces for
monogramming and clothing inspiration. And remember, when it comes to creating
your own monogram design, the sky's the limit. So, let your imagination soar
and enjoy the process! And when you're ready, Eagle Digitizing is here to help
bring your unique monogram design to life with its embroidery digitizing service.


