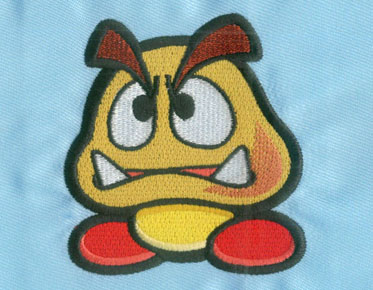
A Step-by-Step Guide to Digitizing Applique Designs
Applique digitizing is an
effective and the best way to get any design into a desired shape. In this
tutorial, we are going to explain what applique digitizer is and how we can use
it for our advantage.
Basically,
if we want to reduce the total number of stitches in the design and want to add
some extra fabric pieces to any design of the color we need, we use applique
digitizing. We can use the same software or machine to digitize the decals. In
this video tutorial, we use Wilcom Embroidery Studio and digitize beautiful applique
designs. You can see both before and after digitization for a better
understanding.
Let's
divide the applique design guide into several steps:
Step 1 -
Open your design:
Open the
design you want to convert to a applique and load it into Wilcom Studio.
Step 2 -
Remove the tatami:
After the
design is loaded, you must delete the tatami, and only the outline should
remain.
To remove
tatami, you must move the pin cursor to start.
You can
simply select this option from the toolbar. Once you click on it, your design
needle will move to start.
Step 3 -
Digital operation:
When
finished, click Digital Run in the toolbar options to start drawing a straight
line along the boundary.This will create a profile on your design border.
Now you
must change the color, select any color you want, and then move the sewing
cursor again at the beginning. Select this option from the toolbar by clicking
the left mouse button.
Step 4:
Travel according to different colors:
You will
notice that the color you selected already appears in the first one. Now click
"Travel by Color" from the toolbar option. You can also press the
Page Up or Page Down button as the shortcut key. Color arrangement indicates
which color is behind the design; Our outline is red, right here.
Step 5:
Write an outline:
For applique
design, it is important that you select and run your silhouette, then you can
put the fabric into the machine, and the silhouette will firmly hold the
fabric.
Step 6 -
Prepare your design:
After
running the outline and border of the design, you can run anything included in
the design, but make sure to run the outline first, and then run the border.
This is
it, you have successfully prepared your design to have a strong and appropriate
applique.
We
hope this information can be useful to you. If you don't get what you need,
feel free to comment or send me an email. For a professional embroidery digitizing
service, Eagle Digitizing is the best option!


