Integrating Vector Logos with Raster Images: A Comprehensive Guide
html
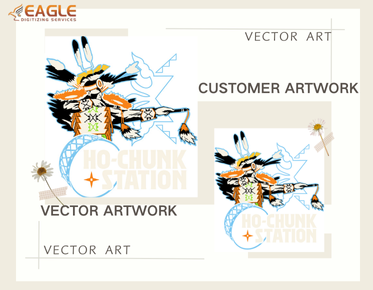
In the world of digital design, combining different types of graphics is a common practice. One frequently asked question is whether it's possible to use a vector logo on a raster image. The answer is a resounding yes, and doing so can bring numerous benefits to your design projects. This guide will explore the intricacies of using vector logos on raster images, the advantages of such integration, and the best practices to ensure seamless results.
Understanding Vector and Raster Graphics
Before delving into the integration process, it's essential to understand the fundamental differences between vector and raster graphics. Vector graphics are composed of paths defined by mathematical equations, which means they can be scaled infinitely without losing quality. This makes them ideal for logos, icons, and any design elements that require resizing. On the other hand, raster graphics are made up of pixels, which can become pixelated when scaled beyond their original size. Common raster formats include JPEG, PNG, and GIF.
Why Use Vector Logos on Raster Images?
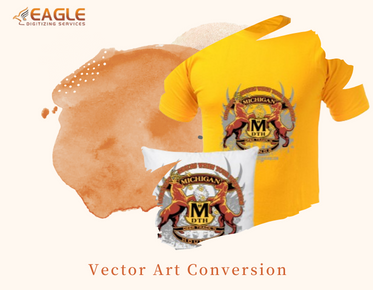
There are several reasons why designers choose to overlay vector logos on raster images. Firstly, vector logos maintain their sharpness and clarity regardless of the size, ensuring that the logo stands out on any background. Secondly, using a vector logo allows for easy editing and customization, which is particularly useful when adapting designs for different media. Lastly, integrating vector logos with raster images can enhance the overall aesthetic of a design, providing a professional and polished look.
Steps to Integrate Vector Logos with Raster Images
Integrating a vector logo with a raster image involves a few straightforward steps. Here’s a step-by-step guide to help you through the process:
1. Choose the Right Software
To begin, you'll need graphic design software that supports both vector and raster formats. Adobe Illustrator and Photoshop are popular choices, but there are also free alternatives like Inkscape and GIMP. These programs allow you to import vector files and overlay them onto raster images seamlessly.
2. Import the Vector Logo
Open your chosen software and import the vector logo. Ensure that the logo is in a compatible format, such as SVG or AI, to maintain its scalability and quality. Once imported, you can adjust the size and position of the logo to fit the raster image.
3. Overlay the Logo on the Raster Image
With the vector logo imported, you can now overlay it onto the raster image. Use the software’s layering tools to position the logo correctly. You may need to adjust the opacity or blending modes to ensure the logo integrates well with the background.
4. Make Necessary Adjustments
After positioning the logo, make any necessary adjustments to enhance the overall design. This could include tweaking colors, adding shadows, or applying filters to ensure the logo complements the raster image.
5. Export the Final Design
Once satisfied with the integration, export the final design in a suitable format. If the design is intended for print, consider using a high-resolution format like TIFF. For web use, PNG or JPEG are commonly used formats.
Best Practices for Using Vector Logos on Raster Images
To achieve the best results when using vector logos on raster images, consider the following best practices:
- Maintain Consistency: Ensure that the style and color scheme of the vector logo align with the overall design of the raster image.
- Optimize for Different Media: Consider how the final design will be used and optimize it accordingly. This may involve creating multiple versions for different platforms.
- Test Across Devices: Test the final design on various devices and screen sizes to ensure it looks good everywhere.
Future Trends in Graphic Design Integration
As technology continues to evolve, the integration of vector and raster graphics is expected to become even more seamless. With advancements in software capabilities and the increasing demand for high-quality visuals, designers will have more tools at their disposal to create stunning designs. Moreover, the rise of AI-powered design tools may further simplify the process, allowing for more automated and efficient workflows.
In conclusion, using a vector logo on a raster image is not only possible but also advantageous for creating high-quality, scalable designs. By following the steps outlined in this guide and adhering to best practices, you can achieve professional results that enhance your design projects. For those seeking professional assistance, Eagle Digitizing excels in delivering professional vector art services, transforming creative visions into scalable designs.


