Image to Vector Conversion Tips For Beginner
Vector Conversion is the conversion of a raster image into a vector representation. This is often done on Image Quality/Resolution, which you can enlarge or replace with Adobe Illustrator Vector Graphics Editor. These vector pictures are used for commercial electronic commerce or commercial purposes.
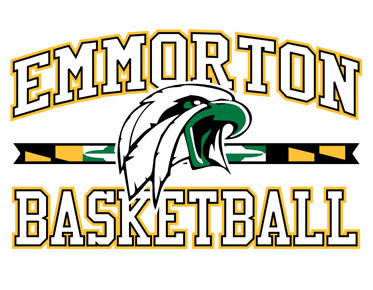
The Raster to Vector Conversion is a service provided by us. It converts PSD, JPEG and GIF format raster image files to EPS, Ai and PDF format vector image. For example: when you want to get a professionally created graphic from your company logo, we can do it for you. A raster image is converted into a vector format graphic . The quality of the image improves after the conversion. Unlike other image manipulation services, in this service, we use Adobe Illustrator application for conversion process.
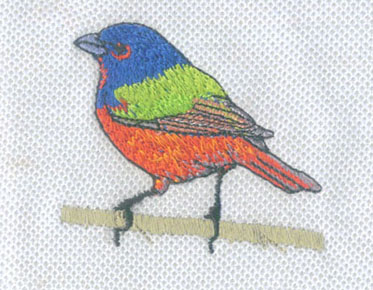
Vector Conversion is one of the best services provided by us. It is an enhanced version of raster images used in billboards, banners etc. This service has a diversified scope for our clients to use it in t-shirts, artworks, vector drawings, CAD Design (2D/3D) and outline.
What is image tracking?
In computer graphics, image tracing refers to the conversion of raster graphics into vector graphics. Technically, a photo has no specific physical structure. An image is an image that consists of marks on paper, grain in film, or pixels in a bitmap. This image is useful, but it also has some limitations. If an image is enlarged or enlarged, halftone dots, film grain, and pixels can unexpectedly become apparent. The sharp edges of these images look blurry. On the other hand, vector images don't have the same problem. Edges are represented as mathematical lines or curves and can be magnified thousands of times.
The task of vectorization is to convert a 2D image into a 3D image. Live portraits are not suitable for vectorization. Artificial images such as maps, cartoons, logos, clip art and technical drawings are suitable for vectorization. These images may initially be vector images because they are based on geometric shapes or drawn with simple curves.
In the initial stage, the graphic designer chooses the image, but the form of the image may vary. It might be a photo, a drawing on paper, or some other type of raster file format.
The R2V processing software allows input image bitmap formats such as JPEG, TIFF, BMP and PNG. After conversion, the vector image formats are SVG, DXF, EPS, EMF and Ai.
Manual tracking process for image to vector
conversion
For raster to vector conversion, several methods are available. E.g--
1 – Autotrace vectorization using 100%
vectors
2 – Hand drawn vectorization using raster
effects
3 – Hand drawn vectorization using 100%
vector
4 – Vectorize as line art to match colors
If the image has a mix of different colors, you need to decide how the vector transforms. Because raster images contain color blends and soft color gradients, vectorized images may look slightly different. But nothing to worry about as vector programs or software also have tools for adding color blending. For this, the color combination in the vector image remains the same.
In this article, we will discuss the hand tracing process for image-to-vector conversion.
For manual tracing or manual vectorization, the input image must be converted to a usable format.
After that, the graphic designer sends the image image editing software, such as Adobe Illustrator. Then use the editing functions of this software to trace the image.
To simplify the process, let us know step by step -
1) First, open Adobe Illustrator.
2) Use this software to open raster image
files.
3) Use the Pen Tool to outline each color
shape of the image.
4) Then apply the fill color, gradient and
tint to the image.
5) When done, delete the RAW files.
6) Then convert the image to EPS or .Ai format.
It is often necessary to manually draw node
by node using the pen tool to produce the desired result. This is
time-consuming, but it is necessary to ensure quality.


