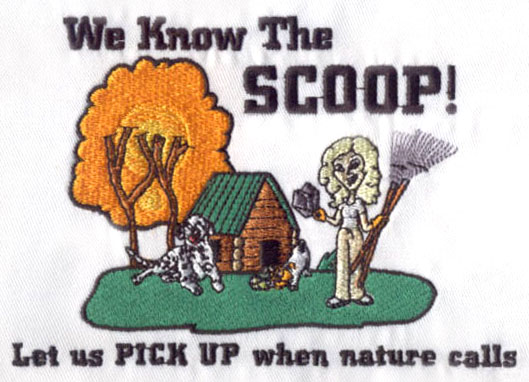
Turning an Image into an Embroidery Masterpiece: A Step-by-Step Guide
Embroidery is a beautiful art form that transforms ordinary images into stunning masterpieces. Whether you're a seasoned embroiderer or a novice, learning how to convert an image into an embroidery file can open up a world of creative possibilities. In this article, we will explore the step-by-step process of turning an image into an embroidery file, unlocking the potential to embroider your favorite designs onto various fabrics and garments.
I. Understanding Embroidery Files:
Before
we delve into the conversion process, it's essential to understand the
different types of embroidery files. The most commonly used formats include:
DST
(Tajima Embroidery Format): This format is widely supported by various
embroidery machines and is often the go-to choice for commercial embroidery.
PES
(Brother Embroidery Format): PES files are specific to Brother sewing and
embroidery machines, making them popular among Brother users.
EXP
(Melco Embroidery Format): EXP files are compatible with Melco embroidery
machines and offer support for multiple colors and complex designs.
II. Preparing the Image:
Image
Selection: Choose a high-resolution image that represents the design you want
to embroider. Keep in mind that intricate details might be challenging to
replicate accurately in embroidery.
Image
Editing: Use image editing software to crop the image and adjust the colors,
brightness, and contrast to enhance its suitability for embroidery.
III. Converting the Image to an Embroidery File:
Specialized
Software: To convert the image, you'll need specialized embroidery digitizing
software. There are various options available, including Wilcom, Embird, and
Hatch Embroidery, among others.
Importing
the Image: Load the edited image into the embroidery digitizing software. The
software will allow you to see a preview of how the design will look when
embroidered.
Digitizing: This is the
most crucial step, where the image is converted into stitches. Digitizing
software lets you create paths for the needle to follow, defining the shape,
color, and texture of the design.
Setting
Parameters: Adjust the stitch density, stitch type, and other parameters to
ensure the design's quality and compatibility with your embroidery machine.
IV. Testing and Refining:
Test
Run: Before embroidering the design
on your final fabric or garment, do a test run on a similar material. This will
help you identify any potential issues and make necessary adjustments.
Refine as Needed: If the test run reveals any flaws or imperfections, go back to the digitizing software and refine the design until you achieve the desired results.
nverting an image into an embroidery file is a rewarding process that requires both creativity and technical skills. Once you've mastered this art, you'll be able to personalize various items with your unique designs. So, pick up your digitizing software, let your imagination run wild, and turn your favorite images into breathtaking embroidered creations. Happy stitching!


